Sometimes we want to emphasize some part of an image we are using for instructional purposes. Here are four methods that we can use on instructional graphics and teach our students to use when they are creating informational materials.
Adding a Highlight Color
In a recent post, I included a map of the Roman Empire that included Dacia. Because most students would not know where Dacia was, it would be helpful to highlight the region with a color since the map was originally black and white. To do so, I simply selected the area, created a new layer set to the “multiply” blending mode, and filled with a color of my choice. I could have simply filled with the color in the same layer, but creating a new layer for the color highlight makes it easier to remove or change the color later.
If you aren’t already familiar with blending modes, check out Colorizing ClipArt: Intro to Blending Modes.
Original map of the Roman Empire from the Maps ETC website.
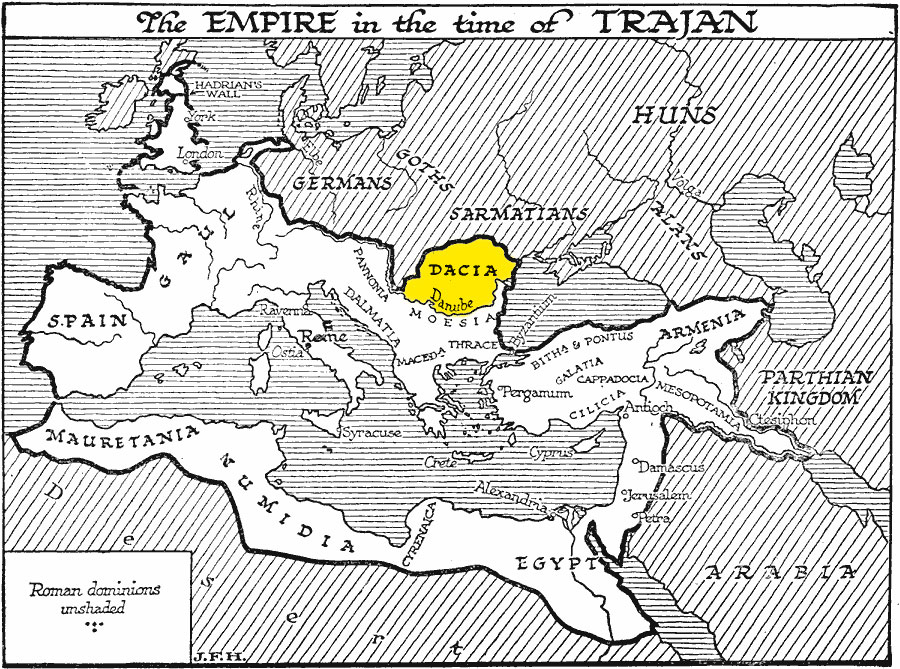
Revised map with Dacia highlighted.
Desaturate the Background
If you’re starting with a color image, it’s often helpful to desaturate the background. The map on the left is also from our Maps ETC website. A student preparing a presentation on the Louisiana Purchase might want to change the map so that the focus was only on the purchase. In this case, first select the area you want to preserve the color of, then invert the selection, and finally desaturate the colors so that they become grayscale. It’s now clear exactly where the Louisiana Purchase is on the map.
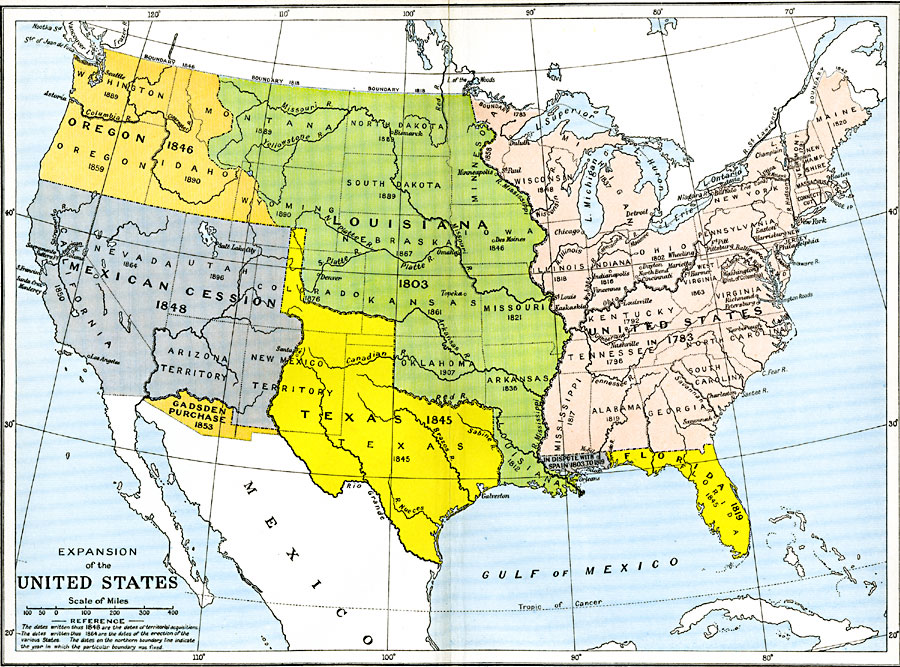
Original map of the Expansion of the US from the Maps ETC website.
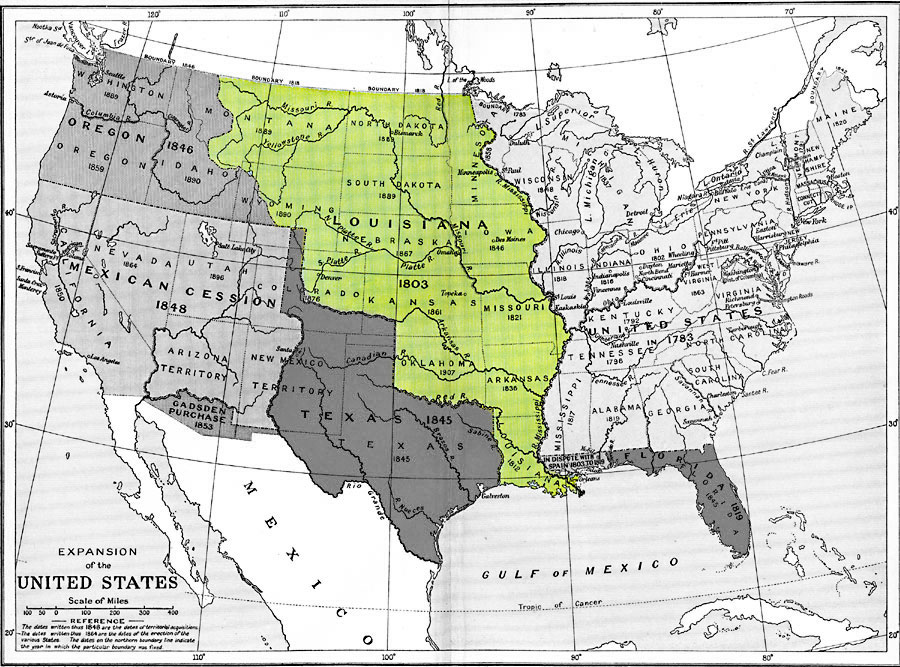
Modified map with all areas except the Louisiana Purchase desaturated.
Ghost the Background
If you’re starting with a black and white image, it’s often helpful to “ghost” the background. I first selected the student I wanted to feature. I then inverted the selection and then raised the left (dark) end of the curves control so that all the dark values were made lighter.
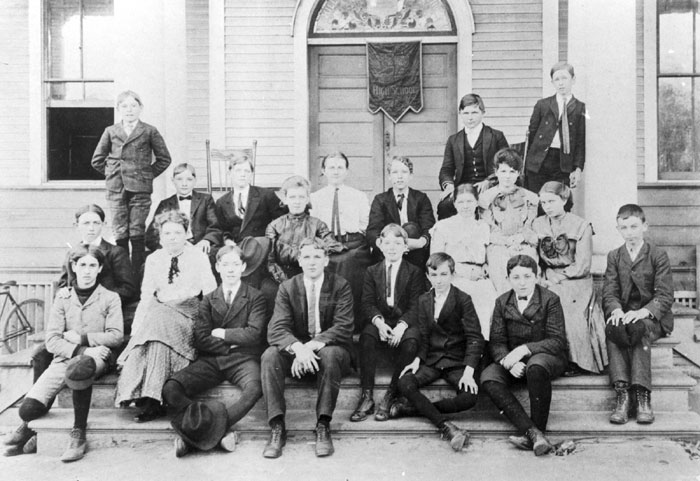
Original Hillsborough High School class photo from the Exploring Florida website.
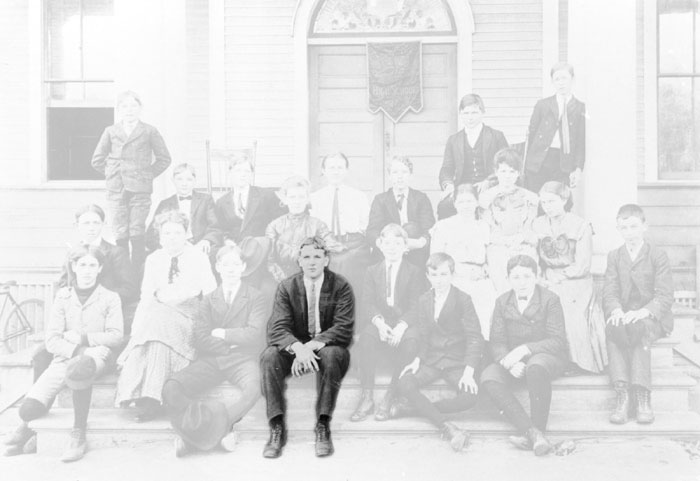
Modified photo with all areas except the selected student “ghosted.”
Blur the Background
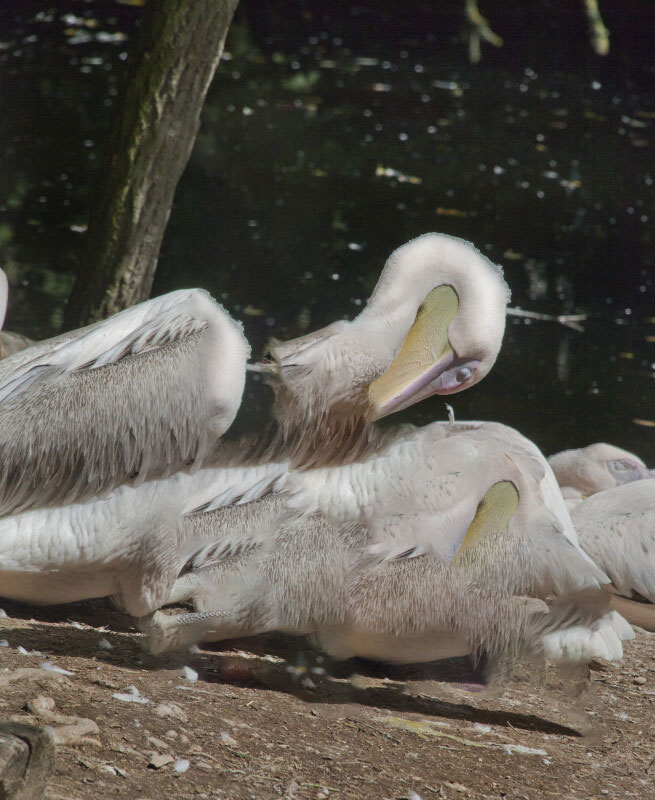
This image is a bit confusing because several pelicans are bunched together. It’s hard to be sure what a single pelican looks like. In cases like this, you might want to blur the background so that the subject stands out. This process is a bit more involved, but really doesn’t take much time.
First, select the subject of the photo and create a new layer using the Layer via Cut option. You now have your pelican safely removed to a separate layer.
Second, you want to fill in the hole in your background layer. If you’re using Photoshop, use the Content-aware Fill option. Otherwise, just clone other areas of the background over to fill in the hole. It doesn’t have to be pretty since you’re going to blur it anyway.
Third, blur the background layer as much as you would like to achieve your desired effect.

Original pelican photo from the ClipPix ETC website. It doesn’t work well as an instructional graphic since it’s not entirely clear where one bird ends and another starts.
The main pelican has been moved to a new layer (and temporarily hidden). I used the content-aware fill to fill up the hole where the main pelican was. The automatic process made it look a little weird, but that’s not a problem. The main thing is that reasonable content from the rest of the background was filled in where the subject was.
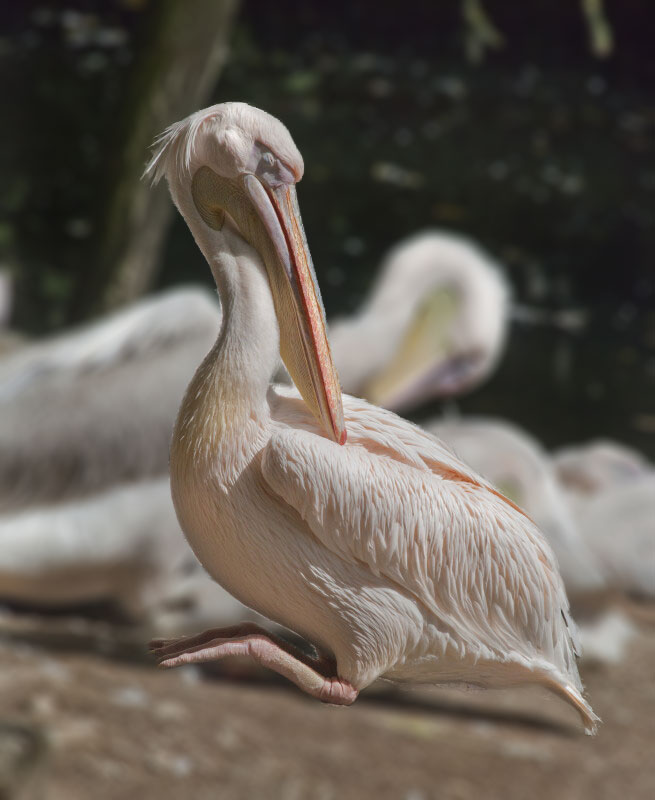
Here’s the final product with the background blurred just a bit and the subject layer turned back on. For this photo, it the best of both worlds—the subject is clear and there’s just enough of the background so that the viewer understands the environment, but isn’t confused.
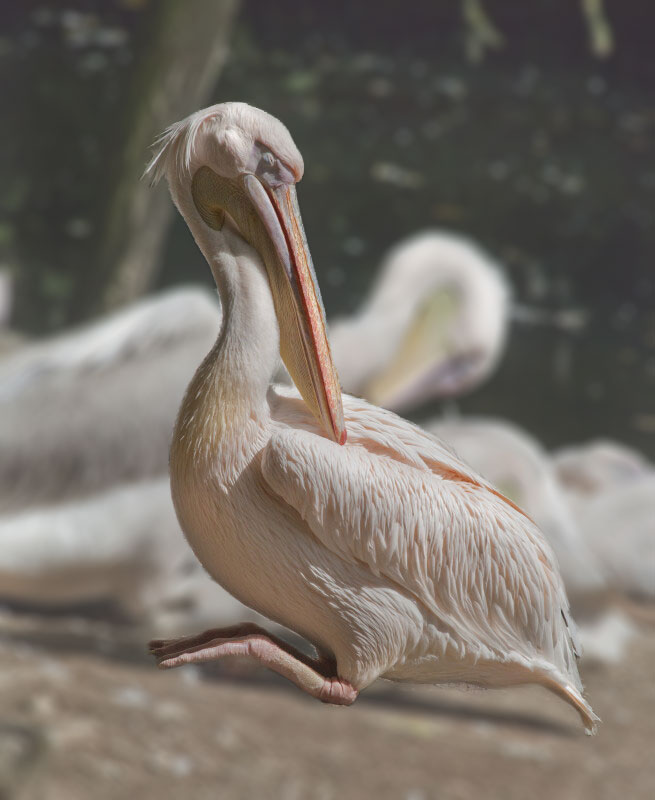
I can never leave well enough alone. This is the same photo as #3, but I also ghosted the background ever so slightly so that the subject stands out even more.
I hope that these techniques will help you to create more effective instructional graphics. It’s always worth taking an extra minute or two to make graphics that communicate your intentions clearly—especially if it’s something that you’ll be able to use time and time again or share with others.
Additional Graphics Posts
- Colorizing ClipArt: Intro to Blending Modes
- Colorizing ClipArt: Using Gradient Maps
- Four Ways To Emphasize the Subject in Instructional Graphics
- Photo or Illustration?
- Using ClipArt ETC for Flyers and Newsletters
- Paper People for Your Preso
- Cutout People for Digital Narratives
- Converting Raster Clipart to Vector
- Signs for the Times: Repurposing ClipArt ETC traffic signs
- 4,000 Drop Caps: When and how to use FCIT's drop cap collection in your documents
- Custom Banners: How to manipulate an image so that it tiles (repeats) seamlessly
Roy Winkelman is a 40+ year veteran teacher of students from every level kindergarten through graduate school. As the former Director of FCIT, he began the Center's focus on providing students with rich content collections from which to build their understanding. When not glued to his keyboard, Dr. Winkelman can usually be found puttering around his tomato garden in Pittsburgh. Questions about this post or suggestions for a future topic? Email me at winkelma@usf.edu. To ensure that your email is not blocked, please do not change the subject line. Thank you!
FCIT Newsletter
Each month FCIT publishes a newsletter with short articles on teaching and learning with technology, using digital content in the classroom, and technology integration. Subscribe today! The subscription form will open in a new window. When you have subscribed, you can close the new window to return to this page.