Menu
1. TIM Tools Admin Center
The Admin Center provides for management of the TIM Tools suite of applications.
Overview
Getting Started
- Admin Center Access
- Admin Center Dashboard
- Managing Zones (for Districts)
- Managing Zones (for Regional Service Agencies)
- Managing Zones (for Education Ministries, Consultants, Grantors, and Others)
- Managing Schools
Customization
Managing Members
- Uploading and Updating Members
- Profile Screen
- Changing Passwords
- Defining Roles (for Districts)
- Defining Roles (for School Licensees)
- Defining Roles (for Education Ministries, RSAs, Consultants, Grantors, and Others)
Working with Data
- Participation Overview
- Downloading ARTI Data
- Downloading TIM-LP Data
- Downloading TIM-C Data
- Downloading TIM-O Data
- Downloading TIM-R Data
- Downloading TUPS Data
- Using TUPS, TIM-O, TIM-R, and TIM-LP Templates
2. TUPS
The Technology Uses and Perceptions Survey provides essential information for planning technology infrastructure and support and identifying the perceptions and PD needs of teachers.
- TUPS Intro
- Collection Frameworks
- TUPS Intro and Closing Text
- Customizing TUPS Sections and Items
- Accessing School or District TUPS Data
- TUPS Report Template
3. TIM-O / TIM-LP / TIM-R
These three tools are for classroom observation, lesson plan review, and teacher reflection.
Overview
Preparation
TIM-O
- TIM-O: Beginning an Observation
- TIM-O: Question-Based Method
- TIM-O: Matrix-Based Method
- TIM-O: Finishing an Observation
- TIM-O: Print or Share an Observation with a Teacher
- TIM-O: Editing Previous Observations
- TIM-O Report Templates
- Accessing School or District TIM-O Data
TIM-R
TIM-LP
4. TIM-C
The TIM-C allows a coach and client to document the goals, activities, progress, and outcomes of a coaching cycle.
5. ARTI
The ARTI tool provides a framework for teachers to design and conduct their own action research projects.
6. Report Tool
The Report Tool allows a school or district to create TIM-LP, TIM-O, TIM-R, or TUPS reports.
- Report Tool Intro
- Building a New Report
- View, Edit, or Delete Reports
- Interpreting TIM-O Report Data
7. Survey Tool
The Survey Tool allows a school or district to create internal or external surveys on new topics as needed.
- Survey Tool Intro
- Creating a New Internal Survey
- Creating a New Public Survey
- Adding Questions to Your Survey
- Customizing a Library Survey
- Viewing Survey Results
Need help?
Have a question?
Email us at TIM@fcit.us anytime. We want to help you get the most out of your TIM Tools account!
TIM Tools 7.5 Administration Guide
Creating a New Public Survey
A new public survey can be built from scratch or you can start with an existing survey from the included survey library and edit it to meet your needs. Members of the public may respond to a public survey. This page describes how to begin creating a public survey from scratch. If you’d like to begin with a survey from the Survey Library, please see Customizing a Library Survey. To create an internal survey, please see the previous page, Creating a New Internal Survey.
To begin from the Main TIM Tools menu select Survey Tool, then Public Survey Builder.
1. Title
To create a new survey, simply enter a title for the survey and select “Create New Survey.” Your new survey will be added to the list of public surveys. Select the Edit Survey button next to your new survey to begin editing.
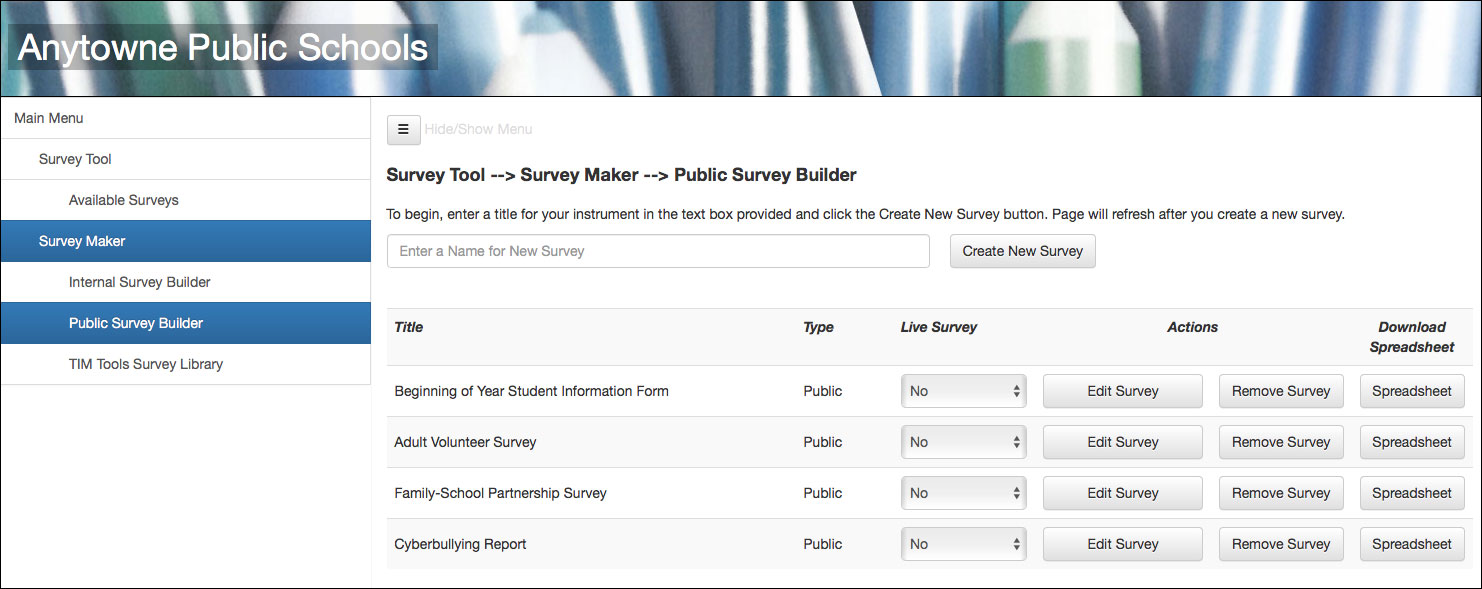 Figure 1. The Public Survey Builder menu showing existing surveys and the box to enter the title of a new survey.
2. Settings Panel
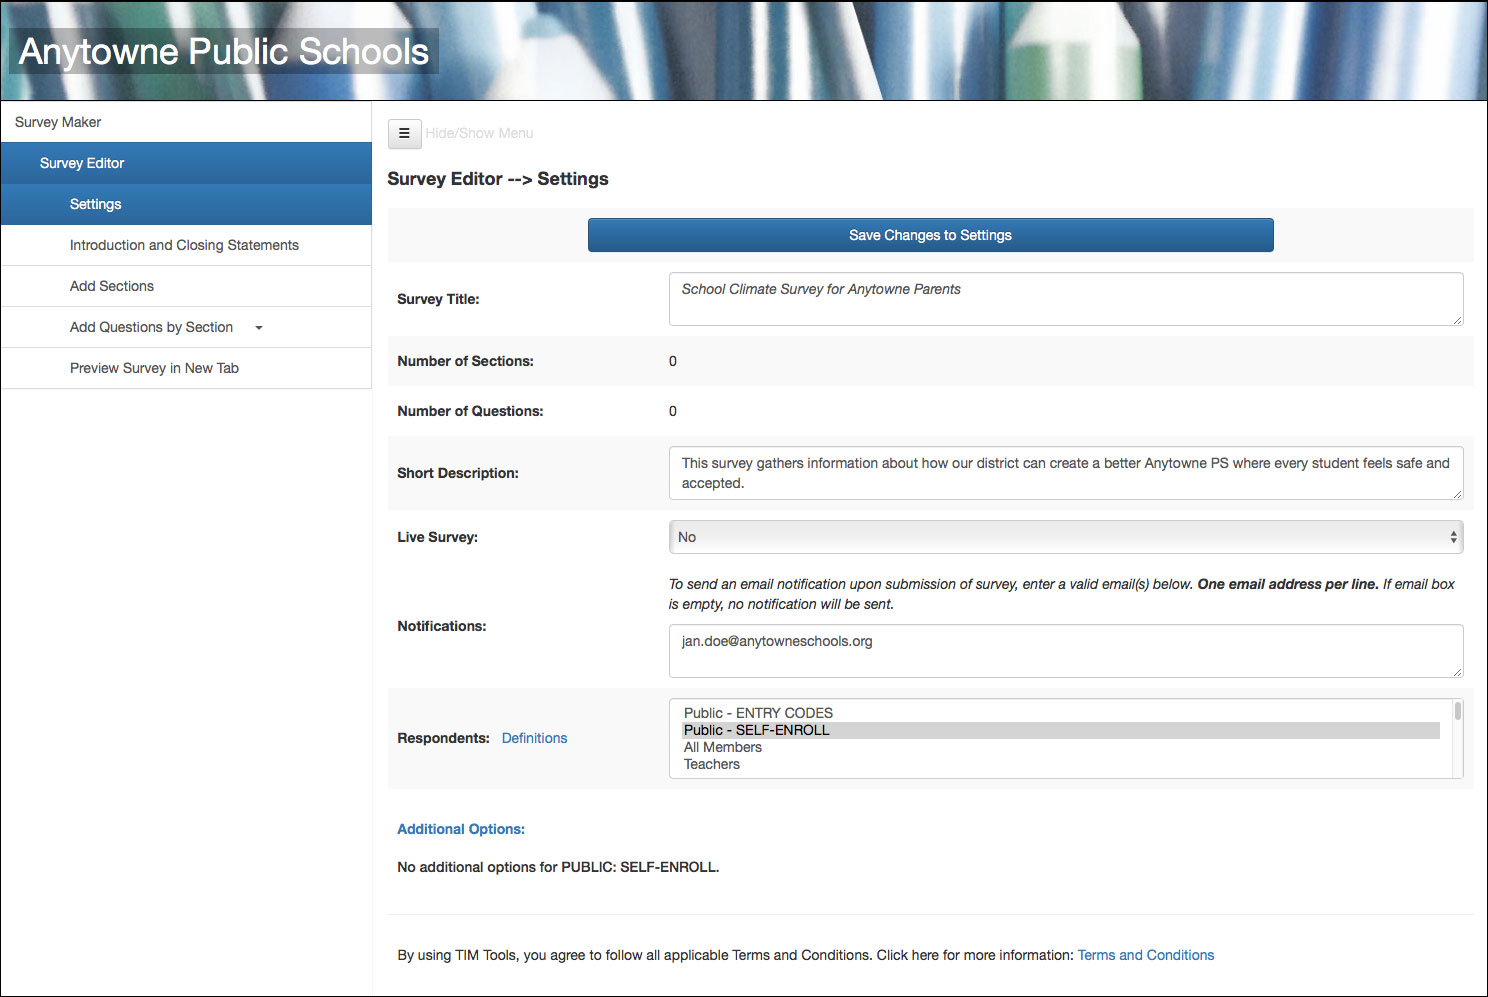 Figure 2. Settings Panel.
When you select the “Edit Survey” button, the Settings panel for that survey will open. Here you can enter a short description for your survey, make the survey live, select notifications, and choose respondents.
Short Description. The Short Description will appear next to your survey title in the Available Surveys list. It can be used to explain the differences between surveys with similar-sounding names or explain the purpose or benefits of the survey.
Live Survey. Changing the Live Survey setting to Yes will make it available to the indicated respondents. When set to No, it will be available only for editing purposes.
Notifications. The Notifications box allows you to add one or more email addresses when you want alerts to be sent at the time of each submission. You probably wouldn’t want to receive notification every time someone submits a general survey, but you might want to use this feature when creating a form such as a help request or bullying report.
Respondents. You can set Respondents to either “Public – ENTRY CODES” or to “Public – SELF-ENROL.” Any survey taken by a member of the public will be tagged with their IP address to allow the filtering of duplicate responses if desired.
Public – Self-Enroll. Anyone who knows the URL of your TIM Tools public home page will be able to participate in a survey with this option. Participants create their own unique code for entry into survey, which allows the particpant to return multiple times until the survey is submitted. The IP address of each participant will be logged to help identify multiple responses from the same source.
Public – Entry Codes. The title of a survey with this option will be visible to anyone who knows the URL of your TIM Tools public home page. However, only persons with a special code set by the survey creater will be able to enter the survey. You can create as many different codes for a survey as you would like. For example, you might distribute various codes to parents according to the school of their child. Or you may use different codes to identify groups of non-teaching staff that are not entered into your TIM Tools instance. You could distribute one code to custodial staff, another to office staff, another to bus drivers, etc. The IP address of each participant will be logged to help identify multiple responses from the same source.
If you select “Public – ENTRY CODES,” an additional option for Role and Entry Codes will appear below.
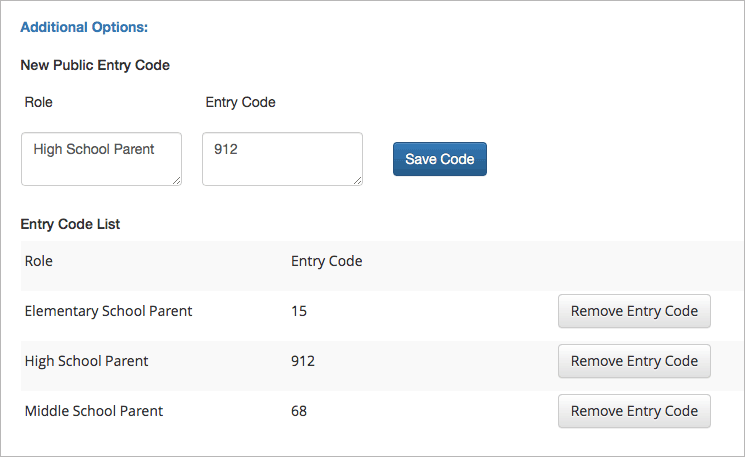
Figure 3. Three different parent codes were created for the survey.
When you have completed this panel, click the Save Changes to Settings button to save your work and then select Introduction and Closing Statement in the from the Survey Editor menu.
3. Survey Introduction and Closing Statement
Clicking the Introduction and Closing Statements tab right under the Settings tab will take you to the next panel.
The first screen participants will see is the Introduction screen. You will probably want to use the text field to welcome participants and explain the purpose of the survey and how their responses will be used. The closing statement is usually a thank you for participating. You can use standard HTML to mark up the text with heading, bold, italics, etc.
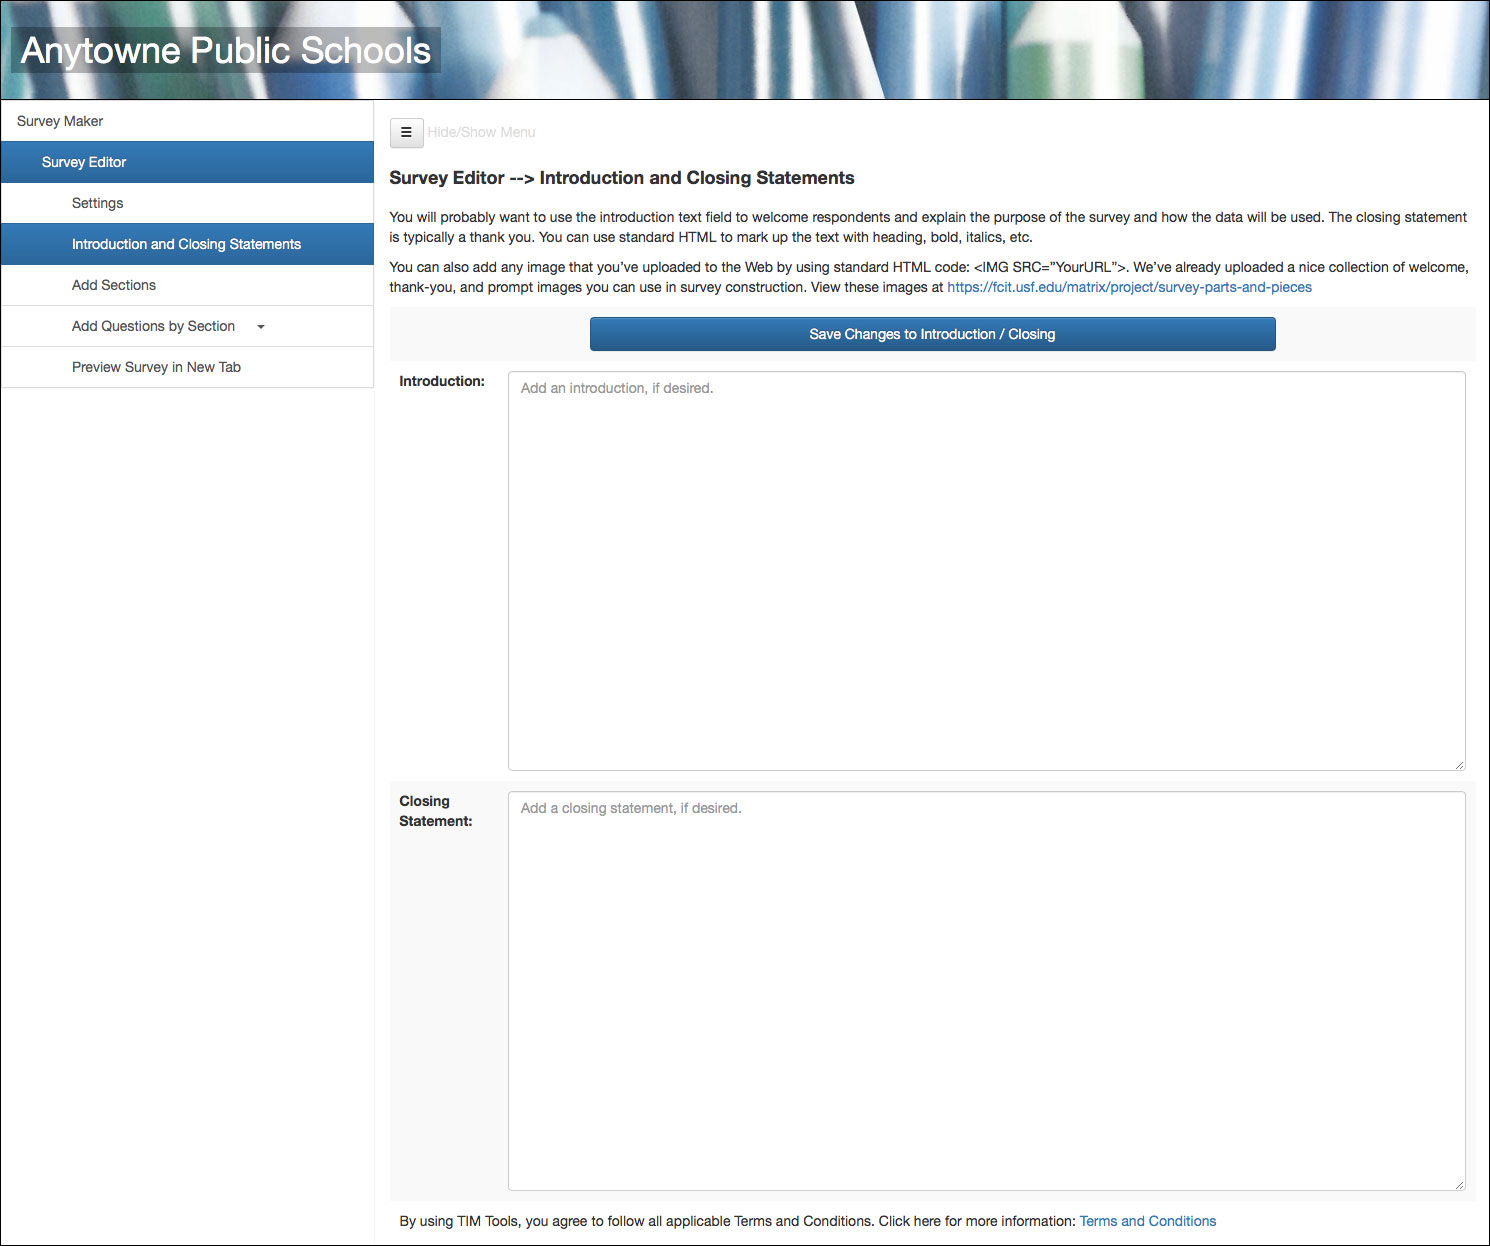 Figure 4. Two text fields to enter both the Introduction and Closing Statements.
You can also add any image that you’ve uploaded to the Web by using standard HTML code: <IMG SRC=”YourURL”>. We’ve already uploaded a collection of welcome, thank-you, and prompt images you can use in survey construction. View these images at https://fcit.usf.edu/matrix/project/survey-parts-and-pieces
Figure 5. Collage of sample survey graphics.
A Note about Roles and the Public Survey Builder
By default, only the Super Administrator has access to the Public Survey Builder. Access to the Public Survey Builder was intentionally more restricted than access to the Internal Survey Builder. If, however, the Super Admin wishes to confer Public Survey Builder permission to others, that can be done in the Define Member Roles panel. For example, you may wish the School Parent Coordinator to have rights to the both the Public and Internal Survey Builders. First, clone the role of Super Admin and name it “School Parent Coordinator.” The deselect all of the administrative permissions except the permissions to create internal and public surveys. Assign this new role to the member in that position and he or she will be able to create both internal and public surveys, but not have all the other admin permissions such as member management.
With the Survey settings and statements complete, you are now ready to move ahead to Adding Questions to Your Survey.